You’re trained on data until October 2023. Even though it’s not yet Labor Day, I am already looking forward to the arrival of fall! My favorite season is autumn, and I’m ready to bid goodbye to the hot summer heat.
Are you excited for sweater weather? Well, prepare for a celebration with these easy DIY projects that will adorn your home for the season in five different ways!
These exercises are sure add fall ushers in charm and make your house cozy with its warm feel.
Charming Mini Pumpkin Display Ideas for Fall Decor
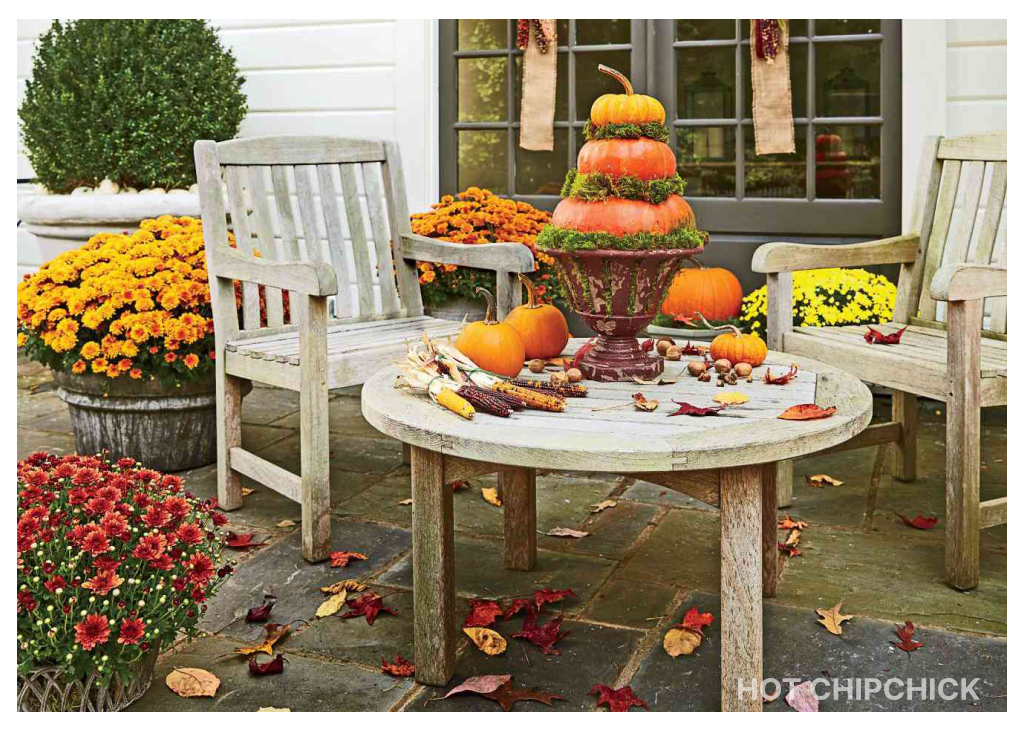
If you’re looking for creative ideas for mini pumpkins, think about doing it in style using a display vase.
Looking for other ideas? You are in luck! This is one of the simplest DIY projects ever. Firstly, get two vases – one big and another small that is able to fit into it – along with some tiny pumpkins, leaves whose color resembles autumn and any luminous twigs. You can find all these supplies at any online store.
To enhance your decoration simply put a bigger container on top of a table while putting inside it a smaller one. Additionally, a mix of adorable little squashes should be inserted between the two glass containers as well.
Lastly, don’t forget to put some floral arrangement representing autumn along with soft-glow branches inside the smaller jar!
Bat and Ghost-Themed Doormat for Spooky Welcome
This mat resembling a bat with ghost is exceptionally beautiful and it stands out as the very first time an identical design has been used. It remains one among the most beautiful and creative of all welcome mats in my life.
This practice not only allows you to bond well with children but also serves as an ideal task during Girls’ Night Out!
For you to create your own Halloween themed or Fall themed doormats, begin with a plain doormat, white acrylic paint, cookie cutters that have designed themselves according to seasons plus some aerosol paint.
Begin placing cookie cutter on doormat where they are used as stencils. For individual pieces paint inside each cutter then carefully remove them. After complete drying consider applying clear aerosol primer coat onto your creation so that it can last long and remain protected.
DIY No-Sew Sherpa Pumpkin Pillow: A Cozy Fall Craft
If sewing isn’t your strong suit, you’ll love this charming no-sew Sherpa pumpkin pillow that’s perfect for adding cozy fall vibes to your space.
To create your project, gather a substantial square of Sherpa fabric, polyester fiberfill, a stick from your yard, a rubber band, thick rope, and some string.
“To create your project, first lay out your fabric flat. Next, evenly distribute the poly fill until it achieves a desired fullness. Finally, wrap all the edges toward the center,” Morgan demonstrates in her instructional video on the process.
“Gather all the fabric pieces together, insert a stick to form the stem, and secure everything with a rubber band. Then, use some string to wrap around the pumpkin, creating indentations on all sides.”
“Secure the indentation wrap by tying a knot around the stem. Then, wrap a length of rope around the stick to form a sturdy rope stem.”
Preserved Floral Pumpkins
White pumpkins are a personal favorite of mine, and I’ve never encountered such festive ones before. These pumpkins feature dried flowers delicately painted onto their surfaces using biodegradable glue, making them eco-friendly and compostable once you’re finished using them as decorations.
To create the glue for painting dried flowers onto white pumpkins, gather the following materials: white pumpkins, dried flowers, corn syrup, vinegar, cornstarch, and water. Here’s a simple guide to making the glue:
Ingredients :
- 2 Tablespoons of corn syrup
- 1 1⁄2 cups of water
- 2 Tablespoons of cornstarch
- 1 teaspoon of vinegar
Instructions :
To make your mixture, start by combining 3/4 cup of water, 2 tablespoons of corn syrup, and 1 teaspoon of vinegar in a saucepan. Heat the mixture until it reaches a boil.
Stir in 2 tablespoons of cornstarch along with the remaining water, mixing thoroughly. Bring the mixture to a boil and continue cooking for an additional minute. Remove the glue from the heat and allow it to cool. Store the glue in an airtight container to preserve its quality; it will remain effective for an extended period if kept in a cool place.
Ghost Pillow
This ghost pillow project is among the most detailed DIY crafts on our list, but the effort you put in will definitely pay off!
To create your ghost decorations, gather the following materials: a blank pillowcase, rope, a piece of black felt, Gorilla glue, and scissors. Begin by spreading the pillowcase flat. Cut the rope into inverted “U” shapes to form the ghosts. Arrange the rope on the pillowcase in your desired pattern and secure it in place with Gorilla glue.
To create a vibrant rainbow effect, start by cutting multiple pieces of rope and arranging them along the inside of your main rope piece. Ensure each segment is securely glued to your pillowcase. Once all the rope pieces are in place, use scissors to trim the ends of your completed ghost shapes. For added detail, cut small eyes from black felt and glue them onto your ghosts. Your craft project is now complete!
Resent Added new Blog : Review of Butter, Flour, Sugar, Joy: A Beginner’s Guide to Becoming a Confident Baker